The purpose of this post is to run an example code of Bluetooth Low Energy GATT server from BlueZ source code on Raspberry Pi.
Here are the contents of this post.
Contents
– Assumptions
– Steps
1. Download Example Code
2. Execute Example Code
3. Install Requisite
4. Start Advertising BLE
5. Verify
– Reference
Assumptions
Here are some assumptions before start. Please refer this in case it’s not ready.
- Raspbian Stretch (2017-09-07) running on Raspberry Pi 3 B+ or Raspberry Pi Zero W.
- Internet access
Steps
1. Download Example Code
1-1. Download BlueZ 5.43.
wget www.kernel.org/pub/linux/bluetooth/bluez-5.43.tar.xz
1-2. Extract the file.
tar xvf bluez-5.43.tar.xz
The GATT server example code “example-gatt-server” is in “test” directory.
$ ls bluez-5.43/test/example-gatt-server
bluez-5.43/test/example-gatt-server
2. Install Requisite
2-1. Update package list.
sudo apt-get update
2-2. Install python package manager.
sudo apt-get install python3-pip -y
2-3. Install dbus.
sudo pip3 install pydbus
3. Execute Example Code
3-1. Execute BLE GATT server example code.
./bluez-5.43/test/example-gatt-server
3-2. Check the output. If everything is fine, it should be like this:
$ ./bluez/bluez-5.43/test/example-gatt-server
Registering GATT application...
GetManagedObjects
GATT application registered
Battery Level drained: 98
Battery Level drained: 96
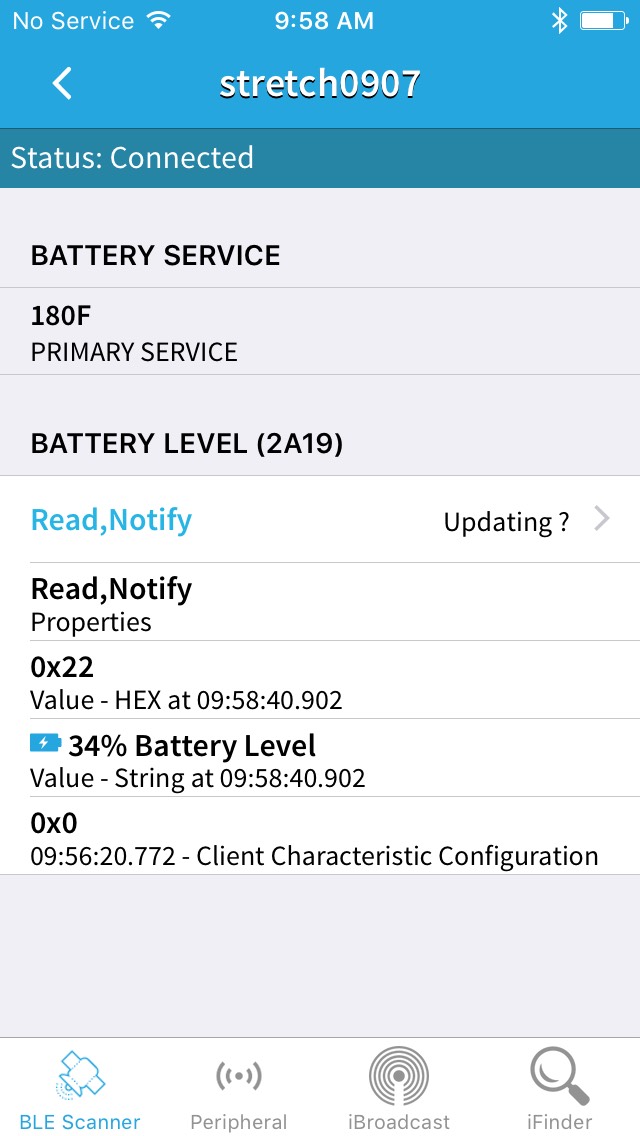
Now, the GATT server is running. Since the example code implements “Fake Battery service that emulates a draining battery”, it outputs “Battery Level drained” message on the console every 5 seconds.
4. Start Advertising BLE
The next step is to start advertising in order to be detected by other devices. To make the steps easier, I’ll use hciconfig command. If you want to use dbus interface instead of hciconfig, please refer this post to run BLE advertising example code (i.e. example-advertisement).
4-1. Open other terminal and type below to start advertising.
sudo hciconfig hci0 leadv 0
Type below in case you need to stop the advertisement,
sudo hciconfig hci0 noleadv
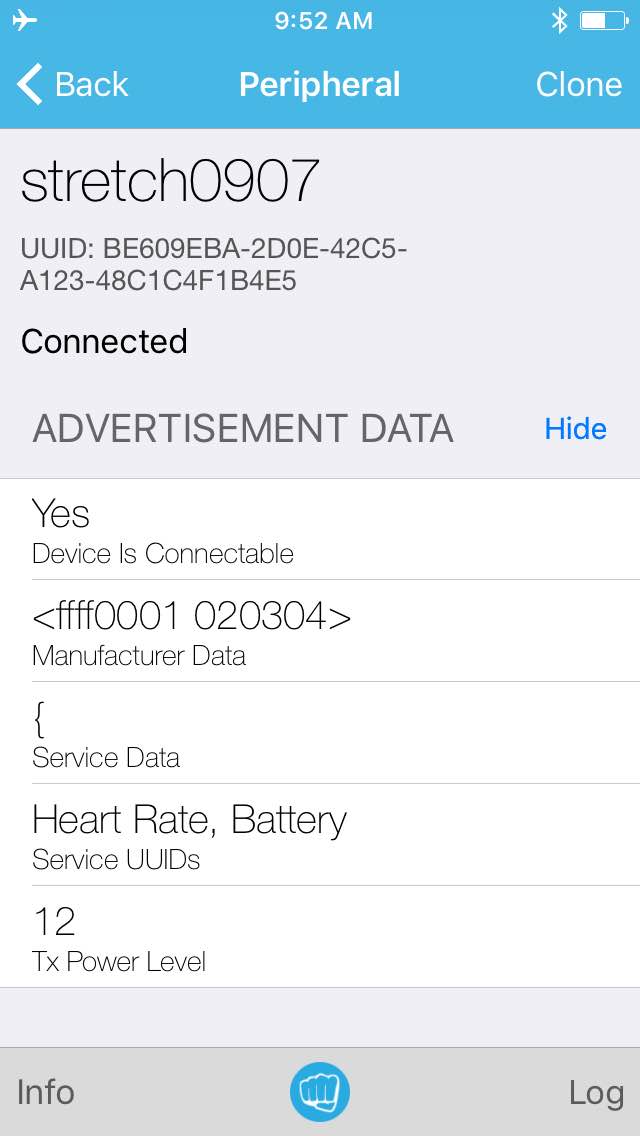
5. Verify
To verify, you can use smartphone apps. The below image was captured with “BLE Scanner” on iPhone.
Reference
– example-gatt-server\test – bluez.git – Bluetooth protocol stack for Linux
https://git.kernel.org/pub/scm/bluetooth/bluez.git/tree/test/example-gatt-server
Update (March 5, 2019):
If you want to make a GATT server based on BlueZ’s example code, please check this post out.