
This post shows how to make a Raspberry Pi a Bluetooth Beacon by using Bluetooth Developer Studio and its Beacon plugin. Bluetooth Developer Studio is a free application development tool from Bluetooth SIG and with Beacon plugin, it generates a script file which makes a Raspberry Pi a Bluetooth beacon.
The steps below basically follow a tutorial (Turning your Raspberry Pi into a Beacon using Bluetooth Developer Studio v1.0) which is included in Beacon plugin for Bluetooth Developer Studio but are simplified for my learning purpose. Please note, this is not very practical but rather kind of “getting started with” Bluetooth Developer Studio and Bluetooth Beacon.
Here are the contents of this post.
- Prerequisites
- Steps
1. Install Bluetooth Developer Studio and Beacon plugin
2. Create Beacon Profile
3. Generate Beacon script
4. Execute Beacon script on Raspberry Pi
5. Verify
- Raspberry Pi
Assuming your Raspberry Pi is up and running. If it’s not already, please set it up first. Raspberry Pi 3 B+ or Raspberry Pi Zero W is recommended since they have a built-in Bluetooth chip. If you want to use other model which doesn’t have Bluetooth chip, you need a Bluetooth Low Energy USB dongle such as this. - Windows PC (Windows 7 or higher)
Bluetooth Developer Studio works on only Windows 7 and higher.
Steps
1. Install Bluetooth Developer Studio and Beacon plugin
1-1. Download Bluetooth Developer Studio from here. As of 9/2/2017, the latest version is 1.1. It requires registration to download.
1-2. Install Bluetooth Developer Studio by following the Setup wizard.
1-3. Download Beacon plugin from here.
1-4. Unzip the downloaded file and go to \beacon-1\tutorial\RaspberryPi\starter-files.
1-5. Then, copy “beacon-plugin” folder into Bluetooth Developer Studio’s plugins folder.
(e.g. “C:\Program Files (x86)\Bluetooth SIG\Bluetooth Developer Studio\Plugins”)
1-6. Go into the newly copied folder (i.e. “beacon-plugin”) and open “plugin.js” with a text editor.
![]()
1-7. Search the lines below and change “true” to “false” on the if statement.
// set the true / false value on the following line to true to read in the data from the service and false to read in from GAP settings
if (false)
* Note: Change the permissions to modify the file if needed.
2. Create Beacon Profile
2-1. Launch Bluetooth Developer Studio.
2-2. Create a new project from “FILE” > “NEW”
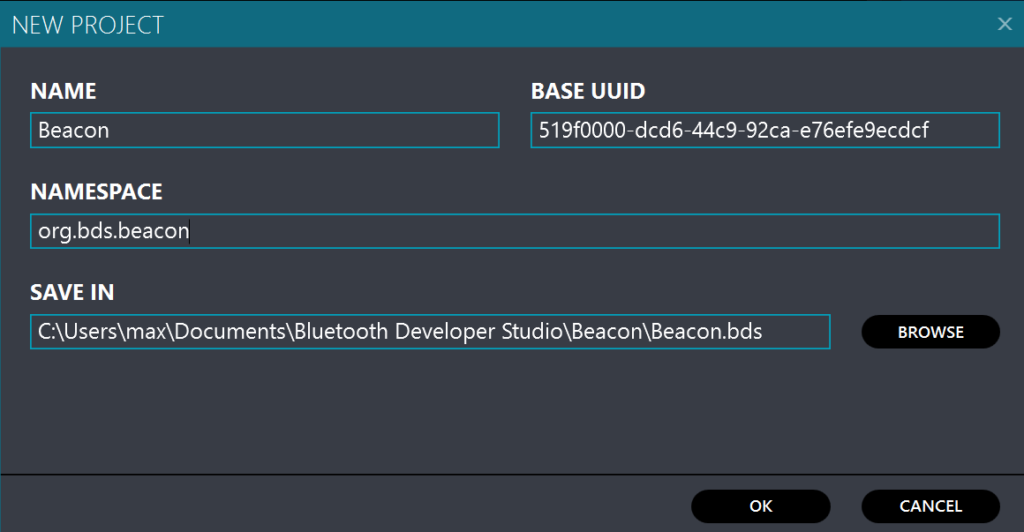
2-3. Enter “Beacon” in the “NAME” field of “NEW PROJECT” window.
2-4. Enter “org.bds.beacon” in the “NAMESPACE” field, then click “OK” button.
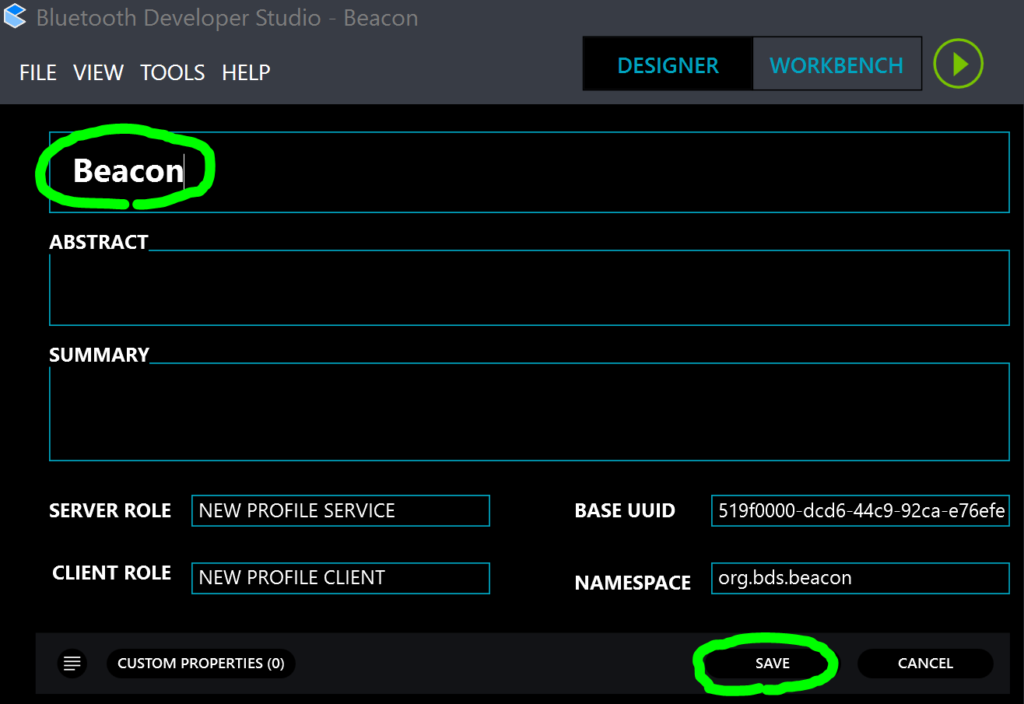
2-5. Click on “New Profile”, change the name to “Beacon”, then click “SAVE”.
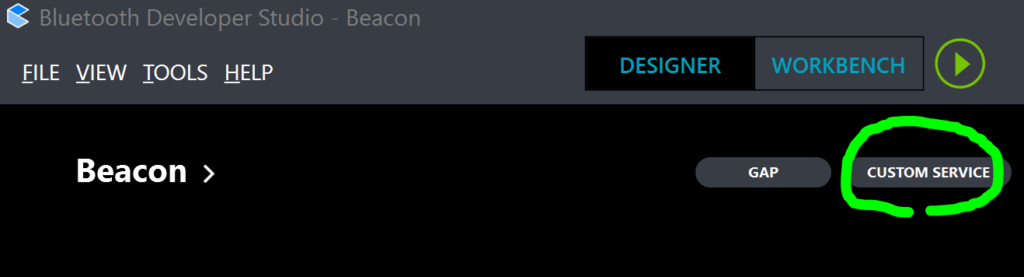
2-6. Click on the “Custom Service” button.
2-7. Click on “Beacon new service” and change it to “Beacon”, then, “SAVE”.
![]()
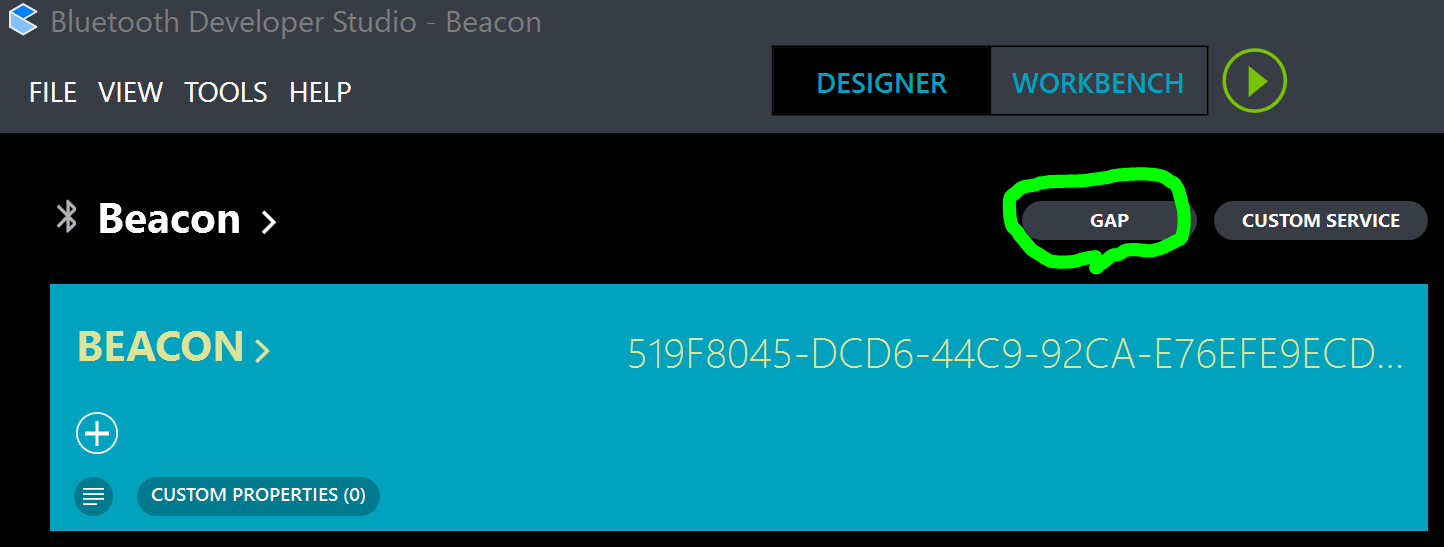
2-8. Click on “GAP” button
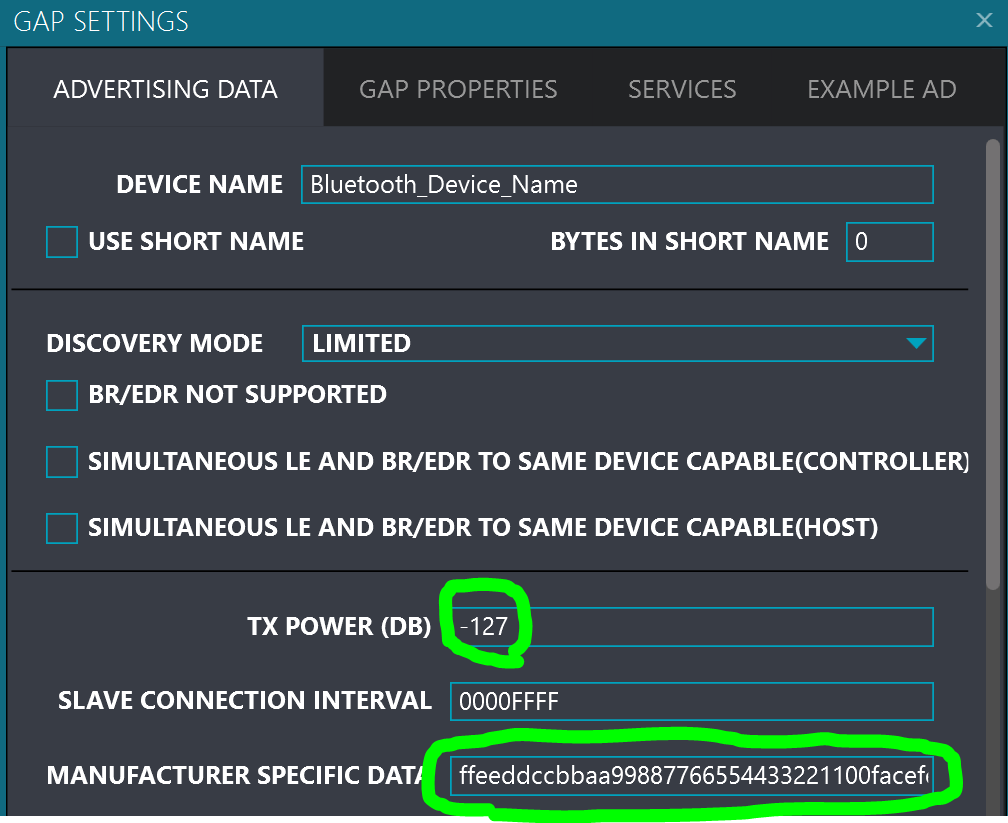
2-9. Enter beacon data as below and click on “DONE”.
TX Power : “-127″
Manufacturer Specific Data” : “ffeeddccbbaa99887766554433221100facefeed”
2-10. From the menu bar, select “FILE” > “SAVE” to save the profile.
3-1. From the top menu, select “TOOLS” > “GENERATE CODE”.
3-2. Select “Beacon” plugin and click on “GENERATE”.
![]()
3-3. After “Code generated successfully”, check on “Open output location when finished”, then click on “FINISH”.
![]()
The folder which contains the generated script file will be opened automatically.
4. Execute Beacon script on Raspberry Pi
4-1. Copy the generated “Beacon.sh” script to Raspberry Pi’s home directory. (e.g. via USB drive, scp)
4-2. Open terminal on Raspberry Pi and add execute access to the script.
sudo chmod +x ~/Beacon.sh
4-3. Run the script.
. ~/Beacon.sh
If it worked you should be able to see output such as:
$ . ~/Beacon.sh
hci0:	Type: BR/EDR  Bus: UART
	BD Address: xx:xx:xx:xx:xx:xx  ACL MTU: 1021:8  SCO MTU: 64:1
	UP RUNNING
	RX bytes:7550 acl:0 sco:0 events:716 errors:0
	TX bytes:22202 acl:0 sco:0 commands:716 errors:0

< HCI Command: ogf 0x08, ocf 0x0008, plen 32
  1F 02 01 1A 1B FF 18 01 BE AC FF EE DD CC BB AA 99 88 77 66
  55 44 33 22 11 00 FA CE FE ED 81 01
> HCI Event: 0x0e plen 4
  01 08 20 00
If you get an error like,
-bash: ./Beacon.sh: /bin/bash^M: bad interpreter: No such file or directory
and/or,
Beacon.sh: line 2: $'\r': command not found
that is because the script file has Windows style line endings and bash doesn’t understand it. You can fix the error by changing the line endings from Windows style to Unix style by the following command.
sed -i 's/\r$//' Beacon.sh
5. Verify
You can check if it’s really broadcasting the beacon data by using a smartphone app such as “BLE Scanner” on Android.
![]()